Your first project
In this walkthrough you make a small name tag: a rounded rectangle that is cut out and a name that is engraved. It takes about ten minutes and shows the basic workflow you will use for every job.
Your laser should be connected and set up, see Connecting a laser. Without a laser you can follow along anyway and stop before the last step, or try the job on the KizamuBeam Virtual Machine, a virtual laser for testing.
1. Draw the tag
- Choose the rectangle tool (Ctrl+R) and drag a rectangle on the workspace.
- In the numeric edits toolbar at the top, set the width to
80and the height to30(mm). The fields accept formulas, too. - Round the corners with the corner radius field in the same bar, for example
4.
2. Add the name
- Choose the text tool (Ctrl+T), click inside the rectangle and type a name.
- Pick a font and a height in the text toolbar. Any installed font works, and Google Fonts can be added with File → Fonts ….
- Press Esc to go back to the select tool. Select the text and the rectangle and centre them on each other with C (horizontal centre) and E (vertical centre).
3. Put the parts on layers
The colour of an object is its layer, and the layer decides how it is lasered.
- Select the text and click a colour in the palette at the bottom, for example black. The text now uses that layer.
- Select the rectangle and click another colour, for example red.
4. Set up the layers
In the layers window on the right:
- Set the text layer to mode Fill, so that the letters are engraved line by line.
- Leave the rectangle layer on Line, so that the outline is cut.
- Enter speed and power for your material. If you do not know them yet, run a material test first (Laser → Tests and Calibration → Material Test) or start from the values your laser’s manufacturer recommends. The material library stores what works.
Double-click a layer for more options, such as several passes, line interval, tabs and kerf offset.
5. Check the job
- Laser → Check Design finds open outlines, double lines and parts that are too small, before you waste material.
- Press Alt+P for the preview. It plays back the job, shows the travel moves and estimates the time.
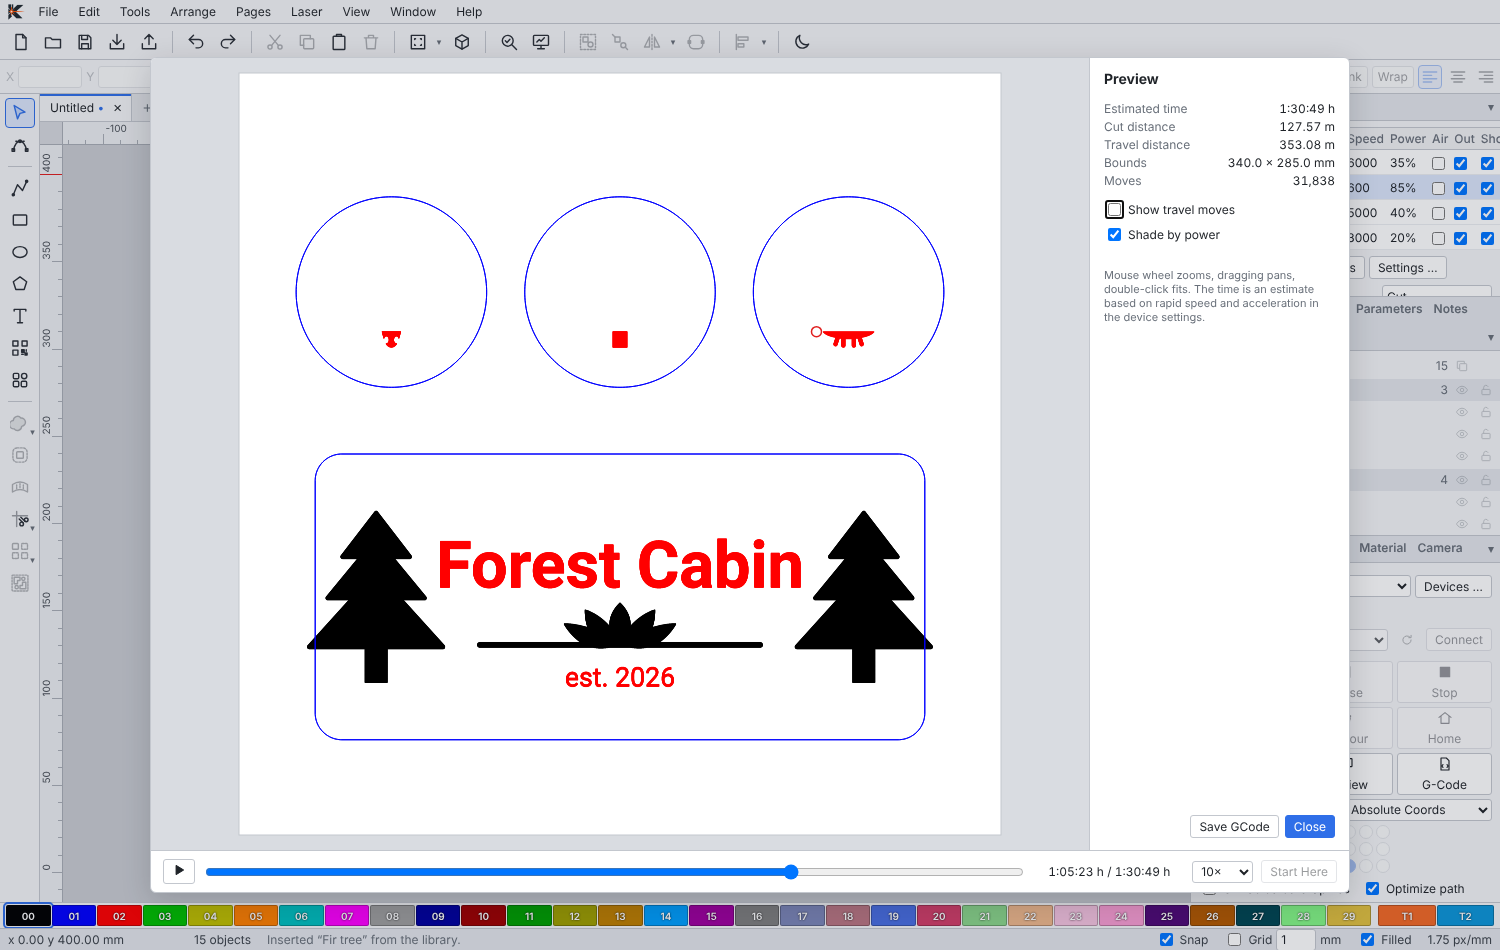
6. Laser it
- Place the material, focus the laser and put on eye protection.
- In the Laser window choose where the job starts (absolute coordinates, user origin or the current position).
- Click Frame: the head traces the outline of the job, so you can see whether it fits on the material.
- Click Start. You can pause and stop at any time and adjust power and speed while the job runs.
Never leave a running laser unattended, keep the lid or a fire extinguisher at hand and make sure the exhaust is running.
7. Save the project
File → Save (Ctrl+S) stores the project as a .kzb file, with all images embedded. KizamuBeam also keeps an automatic backup, so open tabs come back after a restart.
File → Save as template … turns a project into a reusable template: for a name tag, the name could be a parameter that is asked for every time.